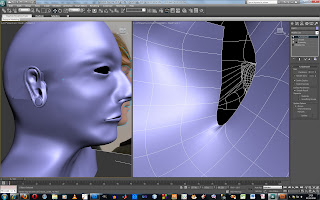
by using the snap tool and pushing vertices
together and using the weld tool to fix it together
then I selected everything and converted it
all to one Editable poly.
pretty hard and time consuming but it all
adds to produce the final result.
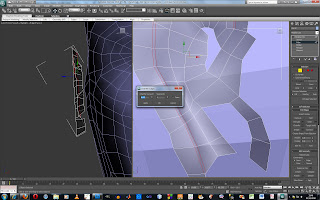
to make the over hang of the ear lobes and
other parts you use a chamfer to create an extra
set of polygons. this will allow you to extrude
the ear correctly and have the extra polygons
to allow the over hang to be produced.
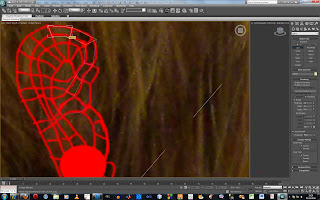
The next big step is to make the ear,
its essentially the same process as with the face
you use the line tool to trace the topology.
connect the points using the snap tool.
You then convert this to a editable Poly
and extrude the vertices.
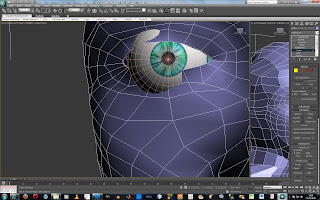
As you see its just a case of pushing it into
the right place, maybe modifying the
eye lid to fit the ball correctly
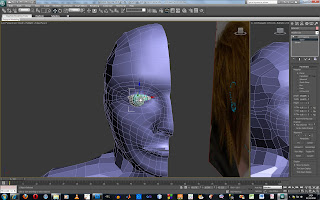
Now to move the ball into place
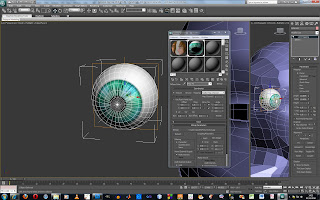
Now as I said there are some mods to do to make the texture work
from the drop down box selected a UV Mapping modifier
this positions it nicely
the next step is to play with the gizmo within the modifier
to adjust the size; height and width.
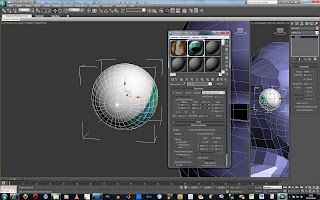
I dropped the texture onto the sphere.
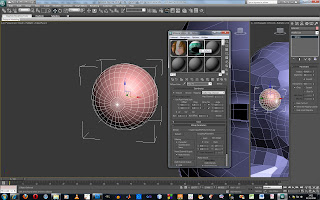
I edited a texture and added a
bitmap to the diffuse channel
now it doesn't work that easily you have to make some
small mods to get it to position correctly and look good.
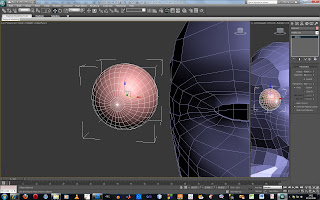
the next little bit to work on is the eye balls
basically a made a sphere shaped it to fit the
eye socket roughly
and i opened up my texture panel by pressing 'M'
After a lengthy process of pushing around
vertices i have completed the neck and shoulders
they work very well after running a
turbo smooth modifier


0 comments:
Post a Comment